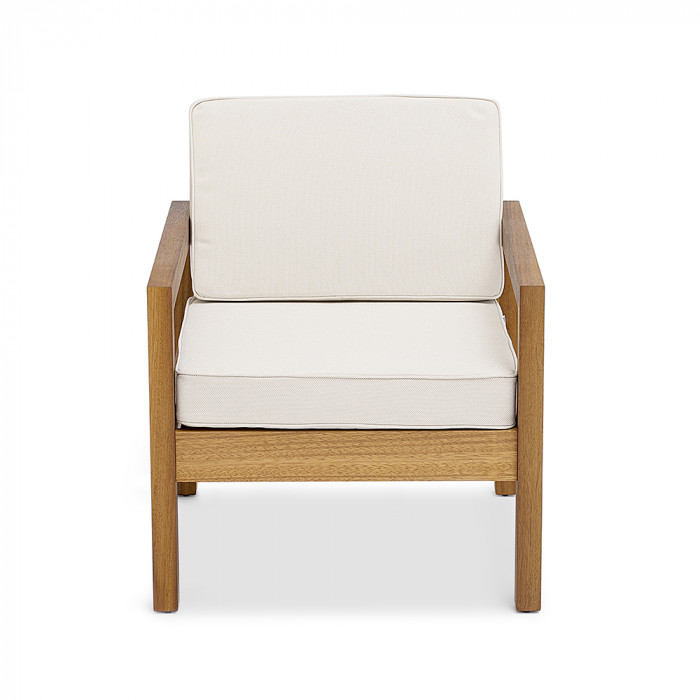
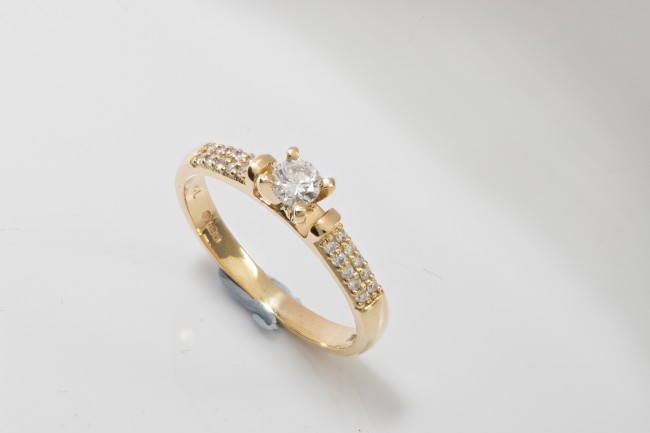
Adobe Lightroom is one of the most powerful tools for professional photographers looking to edit and enhance their images. With its wide range of features, Lightroom allows photographers to improve color, exposure, clarity, and more, all while maintaining high image quality. Whether you're new to Lightroom or looking to refine your skills, this guide will walk you through the essential steps of using Lightroom for professional product photo retouch.
Understanding Lightroom's Interface
1. The Layout of Lightroom Lightroom’s user-friendly interface is divided into several modules, each dedicated to a different part of the editing workflow. The Library module is where you can import, organize, and view your images, while the Develop module is where most of the editing takes place.
On the left, you have the Navigator Panel, which lets you zoom in and preview your adjustments. The right side of the screen contains the Toolbox, where sliders and adjustment options allow you to modify elements like exposure, contrast, and sharpness.
2. Customizing Your Workspace You can tailor Lightroom’s interface to suit your editing preferences. By collapsing panels you don’t need, and rearranging the ones you use frequently, you can increase your productivity. For example, if you use the Histogram panel often to monitor exposure, keep it expanded. Customizing the layout ensures a smoother workflow for professional jewelry photo retouching.
Importing and Organizing Photos
1. Importing Your Photos To begin editing, first, you need to import your photos into Lightroom. Click the Import button in the Library module, select your files, and choose a destination folder. Lightroom allows you to import multiple files at once, making it convenient for photographers working with large batches.
2. Organizing with Keywords and Collections Proper organization is key to maintaining a professional workflow. Lightroom allows you to add keywords to your images during import, making them easier to find later. You can also organize images into collections, which can be based on projects, clients, or themes. This system allows you to quickly access specific sets of images without hunting through folders.

Basic Adjustments: Exposure, Contrast, and White Balance
1. Adjusting Exposure The first step in most photo edits is correcting exposure. In the Develop module, you’ll find the Exposure slider. This slider brightens or darkens your entire image. Aim for a balanced exposure where details are visible in both the highlights and shadows.
2. Controlling White Balance White balance affects the color temperature of your image, which can make a photo look too warm (yellowish) or too cool (blueish). You can adjust the white balance by using the Temperature slider or by selecting a preset from the drop-down menu. For accurate results, use the White Balance Eyedropper to click on a neutral area in your photo.
Enhancing Colors with Saturation, Vibrance, and HSL
1. Using Saturation and Vibrance To make your image pop, use the Saturation and Vibrance sliders in the Develop module. Saturation affects the intensity of all colors, while Vibrance adjusts only the muted tones, protecting skin tones from becoming too orange. This is especially useful for portrait photographers.
2. Fine-Tuning Colors with HSL For more precise control over individual colors, use the HSL (Hue, Saturation, Luminance) panel. You can adjust each color independently, making it easy to enhance blues in a sky or greens in foliage without affecting the entire image. This level of control is essential for professional-grade photo editing.
Sharpening and Noise Reduction
1. Sharpening Your Image In professional photography, sharpness is crucial. Lightroom’s Detail panel allows you to sharpen your image to bring out fine details. Use the Amount slider to increase sharpness, but be careful not to overdo it, as too much sharpening can lead to noise and a grainy appearance.
2. Reducing Noise If your image was shot in low light, it might contain noise—small, unwanted specks that can reduce image quality. In the Detail panel, the Noise Reduction slider helps smooth out these imperfections while preserving details. Adjust both Luminance and Color Noise Reduction for the best results.
Cropping and Straightening
1. Using the Crop Tool Cropping is an essential part of photo editing, allowing you to remove unwanted elements and improve the composition. The Crop Tool in Lightroom lets you crop your image to any aspect ratio, and you can also rotate the image to straighten the horizon or other lines.
2. Customizing Aspect Ratios For professional outputs, such as for social media, prints, or websites, you might need to crop your image to a specific aspect ratio. Lightroom’s Crop Tool offers presets like 1:1 for square images or 16:9 for widescreen, but you can also input custom dimensions to fit your needs.
Working with Presets and Profiles
1. Applying Lightroom Presets Presets are pre-configured settings that apply a specific look or style to your photos. Lightroom comes with several built-in presets, and you can also download or create your own. Presets can speed up your workflow, especially if you need to apply the same adjustments to multiple images.
2. Using Camera Profiles Profiles control how colors and tones are rendered in your images. In the Basic panel of the Develop module, you’ll find a range of Camera Profiles, such as Adobe Standard or Camera Vivid. These profiles provide a starting point for your edits and can change the overall tone of the image without altering your slider adjustments.

Using Masks and Local Adjustments
1. Adjusting Specific Areas with Masks The Radial and Graduated filters in Lightroom allow you to make adjustments to specific areas of your photo. For example, you might use the Radial Filter to brighten a subject’s face without affecting the background, or the Graduated Filter to darken a sky.
2. Precision Editing with the Brush Tool For even more detailed local adjustments, use the Adjustment Brush. This tool allows you to paint over areas of your image to apply targeted changes, such as increasing exposure, enhancing colors, or sharpening specific objects.
Exporting for Web or Print
1. Exporting for Web When you’ve finished editing, it’s time to export your photo. Lightroom’s export options allow you to choose the file format, resolution, and color space that best suits your needs. For web use, export your images as JPEGs with sRGB color space and a resolution of 72 dpi.
2. Exporting for Print If you’re exporting images for print, higher resolution is essential. Export your images at 300 dpi, and choose Adobe RGB color space for the best print results. Lightroom’s export settings also allow you to add watermarks or adjust image dimensions, ensuring your professional photos are ready for any platform.
Conclusion
Using Lightroom effectively can transform your images from ordinary to professional. By mastering its tools and features, such as exposure adjustments, sharpening, and local corrections, you can take full control over your editing process. Whether you’re working on portraits, landscapes, or commercial photography, Lightroom offers the precision and flexibility needed to produce stunning results every time.


